
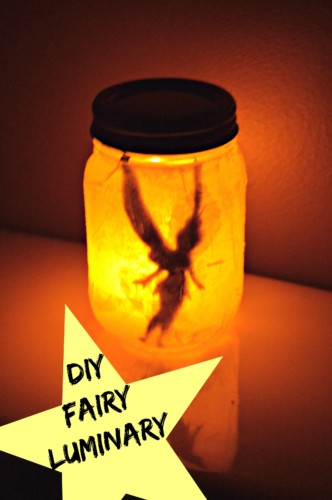
Bring some magic to your outdoor ambience with this adorable and easy to make Fairy Luminary. A fun craft to create with your kids, using a battery operated candle to bring the fairy silhouette of your choice to life. I love how the flickering of the candle seems to make the fairy seem real, fooled my little ones at least!
Using only 7 items, the luminary only takes about 10 minutes to create.
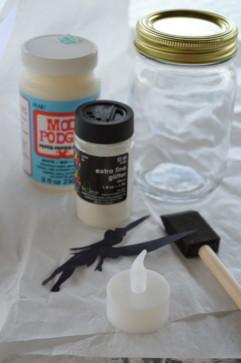 What you will need:
1 small jar
Tissue Paper
Mod Podge glue
Fairy Silhouette in black
Glitter (optional)
Foam brush
Battery operated candle
- The Fairy silhouette is where you can have the most fun and personalize your luminary. Either draw one yourself or find the perfect image and size online and print it out. I printed mine, cut it out and then colored it in with black sharpie on both sides. You could also trace it onto black paper and then cut that out.
- Using the mod podge, glue the Fairy onto the inside of the jar. Evenly spread mod podge onto the outside of your jar with your foam brush and then stick your tissue paper onto the jar.
- You can either use one smooth piece of tissue paper or tear your paper into small pieces for a more collage look. After the jar is covered with tissue paper apply a top coat of mod podge and sprinkle with some glitter.
- Allow to dry before dropping your battering operated candle inside. Then you are finished! Consider gluing some twine to the jar just under the lid creating a handle to hang your luminary from a tree or on a shepherd’s hook in your yard!
Jessica Shockney is a mother of two and a Baltimore City Firefighters’ wife. Jessica is passionate about writing, photography, baking and gardening. She’s a busy mom trying to keep up in a Pinterest world of successes and fails.
Join The Conversation:
0 Comments