
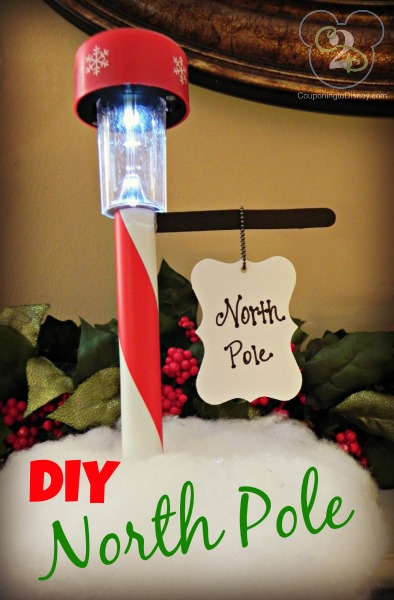
 Last year, I found this adorable pin on Pinterest for this solar light North Pole. So this year I decided to make it. I could not be more pleased with how this turned out. I think it’s absolutely adorable!
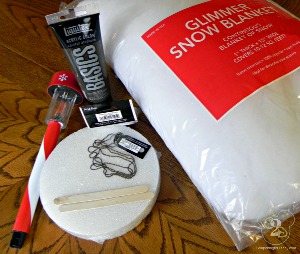 Supplies Needed:
- Solar light (I found this red and white one at the dollar store!)
- Styrofoam circle (this was about an inch think and a few inches wide)
- At least 1 popsicle stick (the original post said to use 2, but I got away with just 1)
- Small labels
- Chain
- Fake snow
- Brown paint
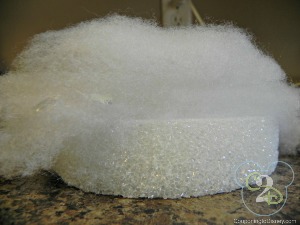
1. Hot glue the snow to the styrofoam. The original post used the snow flakes, but I thought that would be entirely too messy. Use what you wish though.
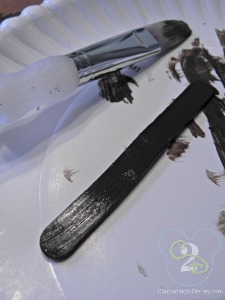 2. Using wire cutters (you might could find something else easy to use, but I found wire cutters worked best), snip one end off of your popsicle stick. This will make it easier to attach to the light later. Paint the stick brown.
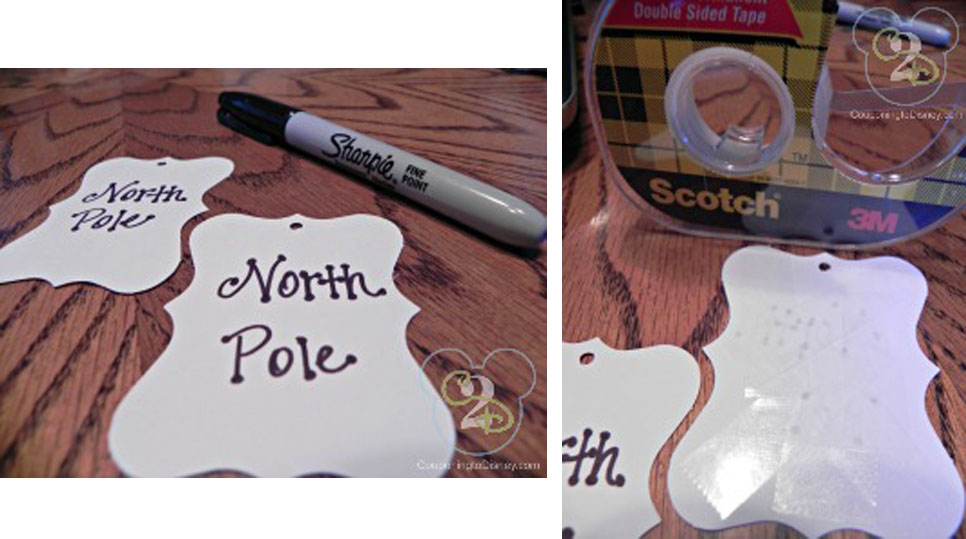 3. On 2 of the labels, write “North Pole”. Then, using double sided tape, tape them together back to back. This way, no matter which way you view the North Pole light, you will be able to see your little sign. The labels I found already had a hole in the top, so I just slipped the chain in the hold and secured it with the fastener that came with the chain. If you don’t have a fastener, you can always glue the chain between the two labels and it’ll work just fine.
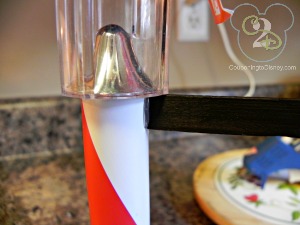 4. Hot glue your popsicle stick to the solar light. Then slip the North Pole sign over the popsicle stick and you’re done!
Check out this DIY Snowman I made from stove burner covers!
Be sure to check out all of my Christmas Crafts!
(Thanks Dollar Store Crafts!)


Kelly says
How did you turn these lights on
Denise-Scrapmouse says
So cute! Thanks for sharing.